Get organized for a new semester with Notion
Learn how to use Notion to create a dashboard for student life, take and organize class notes, collect resources and references, and manage everyday tasks — from shared chores to shopping lists.
Going back to school can feel overwhelming, but Notion is the perfect tool to overcome the challenge and step confidently into your new semester.
Notion can be your home for everything related to school. Take class notes, draft essays, collect resources and references, brainstorm ideas, and keep all your information connected and findable. You can even use AI to extract insights from notes and research and enhance your creative thinking.
With everything organized and connected in Notion, you’ll be able to work faster and stay on top of your studies.
From research and note-taking to planning daily chores and grocery lists, this guide will show you how to manage college life in Notion.
Kick off your Notion workspace with ready-made pages from the template gallery.
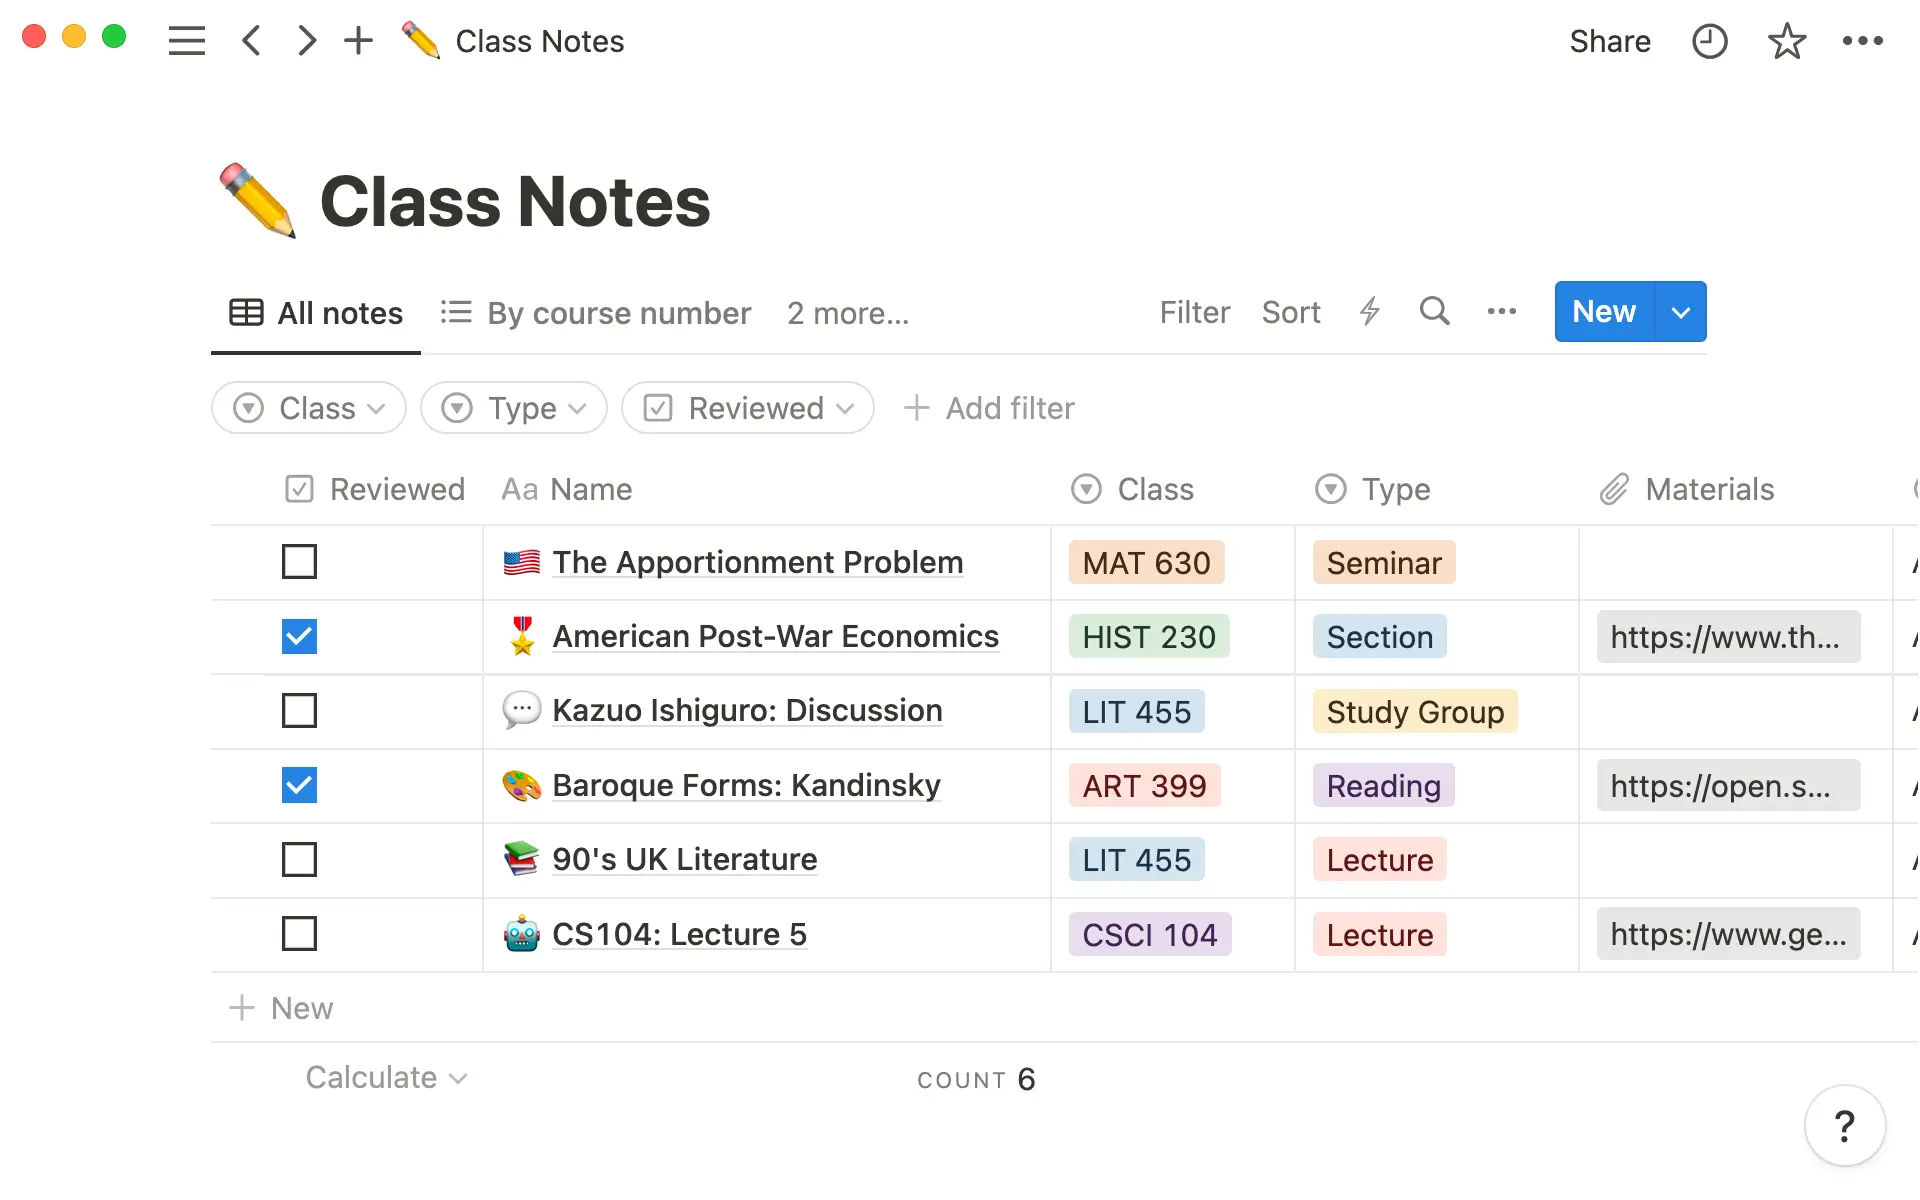
The Class Notes template is the perfect place to store your notes. Instead of jotting ideas down in various notebooks or having a bunch of disorganized files on your desktop, you can keep all lecture notes in one Notion database and tag each page with key information so they’re easy to find and refer back to later.
Create a new note and tag it with contextual information
To create a new note, click on New, give your page a title, and start typing your notes. As well as text, you can add all kinds of blocks to Notion pages — headers, bullets, checklists, images, videos, files, and embedded content from other apps. Open the / menu to browse all the different kinds of Notion blocks available.
You can categorize pages in your Class Notes database with useful information. These properties allow you to categorize notes with different kinds of information and refer back to them. When you create a new note, it will automatically capture the created date. Then, you can tag the relevant class, type of class, attach any files, and check off when the note has been reviewed. You can click on any of these properties and edit to reflect your classes.
Add new properties to organize your notes
To add a new property, open one of your notes and click + Add new property. This will open a menu where you can choose from Notion’s range of properties.
Here are some ways you might use properties to categorize your class notes:
Give your notes a Status — Use the
Statusproperty to mark your note asNot started,In progress, orDone, so you can see whether notes are finished or still need work.Categorize your notes by topic — Use a
SelectorMulti-selectproperty to add topic categories to your notes. This comes in handy later, as you’ll be able to filter your database to show all notes about a certain topic.See when you last edited your note — The
Last editedproperty shows when you last made changes to a page and can help you understand how up-to-date the content is.Connect notes to a course or project — With a
Relationproperty, you can connect one database to another. So you could, for example, connect class notes to a projects database. Then, when you want to work on that project, you’ll find all the relevant notes in one place.Get an automatic summary of your note — Adding an
AI Summaryproperty to your database will generate an automatic summary of the page contents. So, you’ll be able to get an idea of what each note contains with just a glance at the database.

Level up with classes before school starts
Sort, filter, and view information in different ways
Adding properties to your notes means that you will be able to sort and filter the database content based on different criteria.
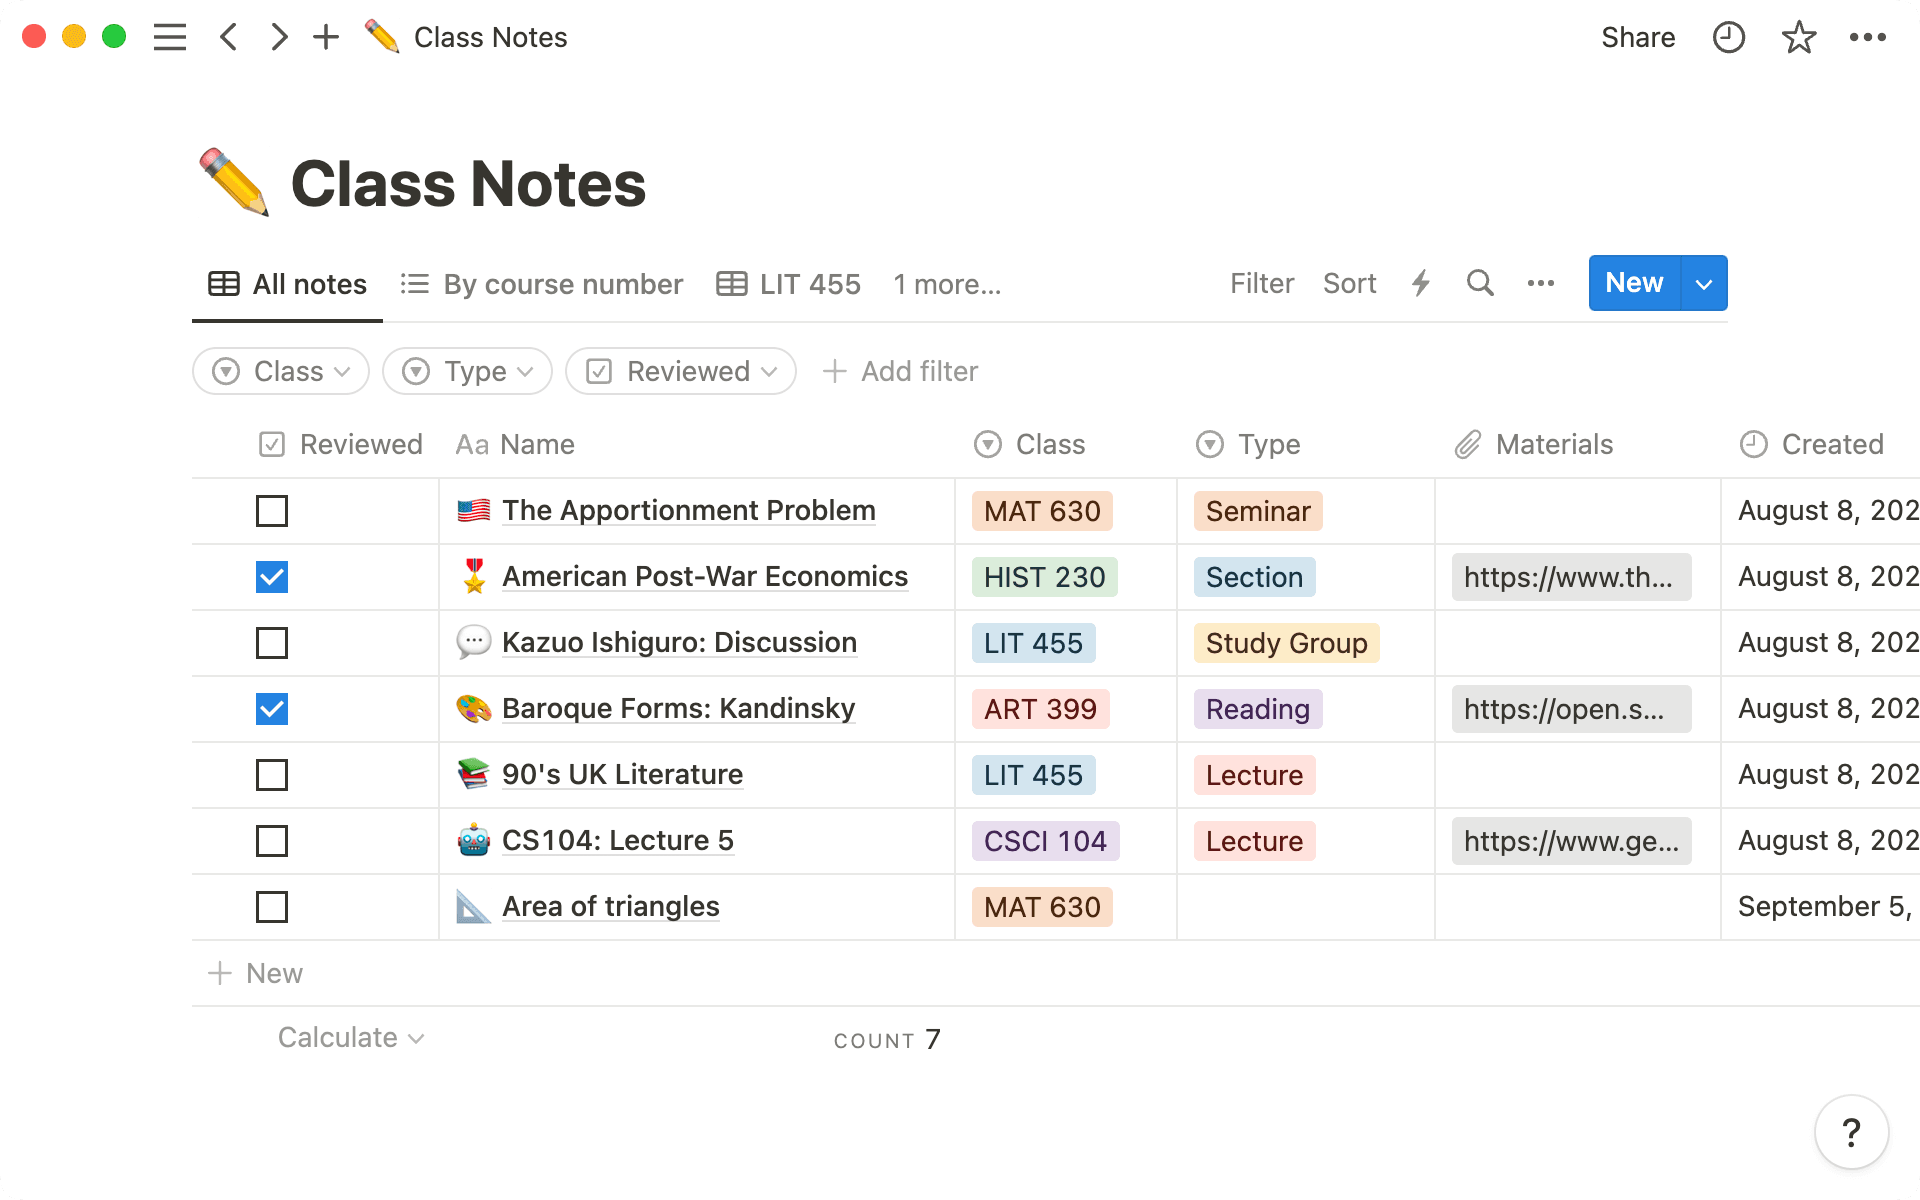
Use the Sort feature to change the order that items appear. If you sort by Created date, notes will appear in chronological order. Sorting by Class or Type will arrange your notes according to those properties.
You can also filter the database to only show a subset of the content according to how properties are completed. So, if you only want to see notes related to one class, click on Filter. Then, in Class, check the class you want — LIT 455, for example. Now, the database will only show notes where you’ve tagged LIT 455 as the relevant class. The rest of the notes remain in the database, and you can turn off the filter anytime.
To take this further, you can create new views for different filtered groups of information. So, you could have a separate database view for each class and one for all notes.
To create a new view, click on the + symbol next to views. Select the type of view you want (board, list, table, etc.), and you can then choose how information will appear in that view using filters and sorts.
Here are some helpful ways you could filter and sort your database:
View all unfinished notes — Filter to show all notes where the Status property is not Done.
See all notes about a topic — To view all your class notes about a particular topic, filter to show the topic or topics.
Create a “Class by class” view of all notes — Add a new view and sort the database by course. Now, all notes will be grouped together according to the class they relate to.
An important part of your studies is collecting and consuming content, which you’ll need to reference later on when it comes to writing essays and your dissertation.
In Notion, you can save resources from the web straight to a database in one click and enter all the relevant information that will make it easier to reference in your work.
Save and categorize resources with the web clipper
To collect resources or build a reading list in Notion, first create a new database page in Notion - you could call it Resources.
Next, download the Web Clipper extension for your chosen browser. Once you've installed the Web Clipper, you'll see a Notion button appear to the right of your browser search bar.
Anytime you’re on a web page, you can click the icon to save the page Notion. You can select your Resources database as the place to save the content. When you save a web page, text and images from the web will be brought over to the page, so you can read the content in Notion.
You can keep anything from research papers, books, podcasts, articles, and more in your Resources database. Categorize each entry using properties for content type, publication date, author, etc.
As with your Class Notes, you can filter and sort items in your Resources database.
Extract key insights from resources using AI properties
Notion AI can be particularly useful for extracting value from resources you save. There are three types of AI autofill properties: Summary, Key Insights, and Custom, and you can add AI blocks into page content as well.
Here are a few ways to use Notion AI to get more out of your resources:
Get the main takeaways from a piece of content — Use the
Key Insightsproperty to generate the main takeaways from any resource you’ve saved. This will help you sort through the most valuable articles you’ve saved.Read a simplified version of the text — You can ask Notion AI to simplify the text to make it easier to digest. Just highlight the text, click
Ask AIand selectSimplify language.
Translate or summarize in another language — If you’ve saved an important resource that’s not in your first language, you could ask Notion AI to translate the whole piece or just provide a summary in your language. Either highlight the text and ask AI to translate, or, using a Custom AI property, prompt Notion AI to “Write a summary of this page in Korean”, for example.
Automatically highlight keywords — Again using a
Custom AIproperty, this time, you can prompt Notion AI to highlight the key words from a piece of text, or categorize the content in one or two words.
Go further with AI
Notion has a built-in AI assistant that can help you improve your writing, check spelling and grammar, brainstorm ideas and more. Discover Notion AI here.
Link resources to your work so it’s simpler to reference later
Relations are Notion properties that allow you to connect databases, so you can create links between information in those databases.
By linking your resources to other Notion databases, you can make sure you have all the necessary materials readily available for your work, and also make the job of adding references to your thesis less confusing.
To add a Relation property, go to + Add new property in the Properties menu and select Relation. There, choose the database you want to connect to. You could connect your Resources database to your Class Notes, and this would allow you to link reading material to each note. If you had a database for drafting chapters of your thesis, you could also link this to your Resources databases, so you can attach Resources as you go chapter by chapter.
Instead of painstakingly going back to search for all your references at the end of a project, in Notion, you can attach sources to your drafts as you go, so nothing gets lost or forgotten.
Your first experience of living independently can be daunting. You’re suddenly responsible for so many areas of your life — groceries, cooking, cleaning, socializing, extracurriculars, and sticking to your student budget.
Notion is ideal for juggling the demands of college and will help you keep on top of everything you have to do.
Here are some ways to use Notion for everyday life:
Schedule household chores — Sharing a place with fellow students is both exciting and challenging. Avoid potential conflicts over chores by keeping track of everyone’s responsibilities in Notion. Invite your roommates to a shared Notion page and keep a list of chores, either as a simple checklist or a database.
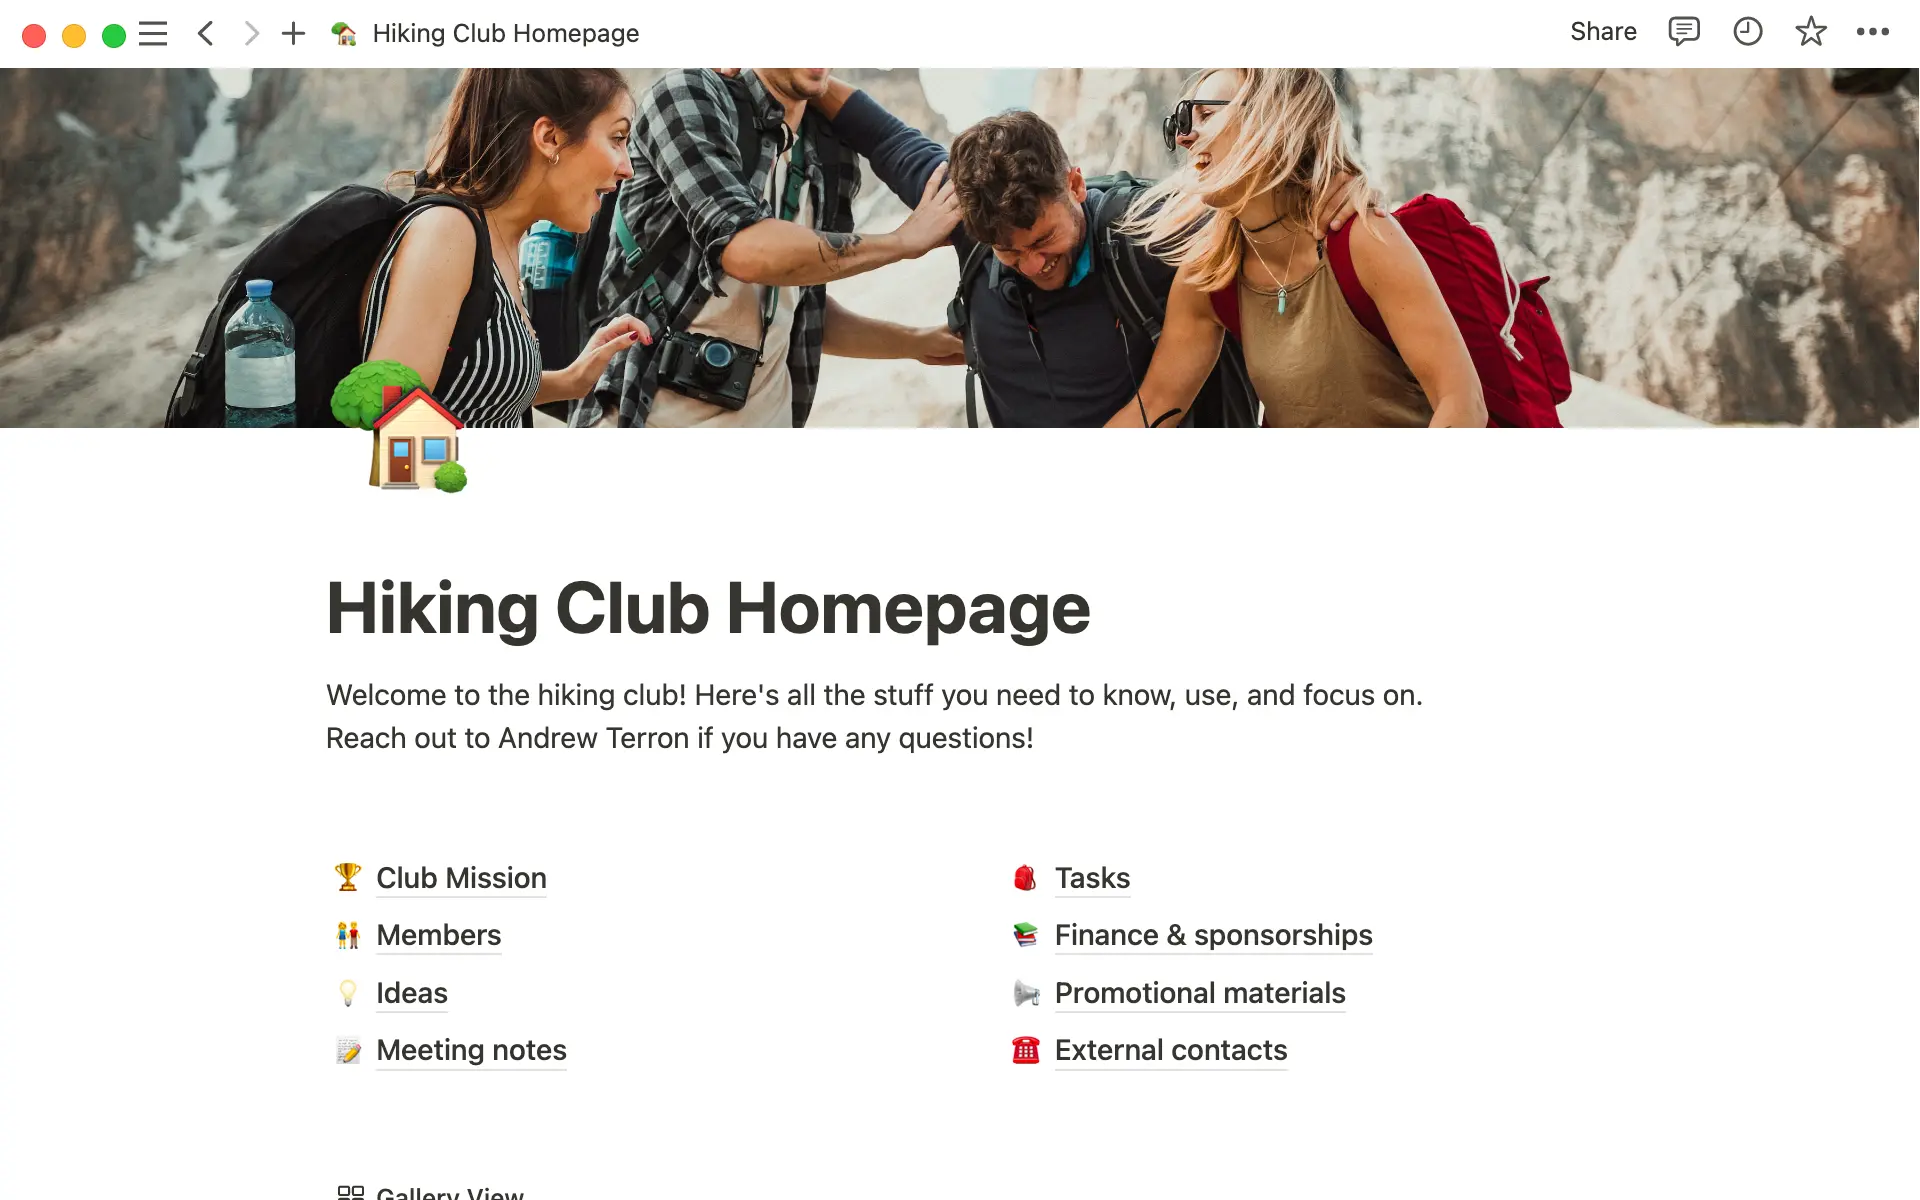
Create a homepage for your hobby or extra-curricular group — You can share Notion pages with anyone you like simply by opening the
Sharemenu and adding their email address, and you can decide the level of access they’re allowed. Create a homepage for your club or extra-curricular group in Notion, and keep resources, notes, and information for everyone, whether it’s your book club or hockey team.
Keep track of tasks to do — Make your to-do list in Notion by creating a list or table database with a checkbox property to tick off tasks once they’re done. You can categorize tasks according to whether they relate to school, home, family, etc.
Manage your budget — Track your income and expenses in Notion to make sure you don’t go over budget. Tag expenses and income in a table database and review how much you’re spending every month.
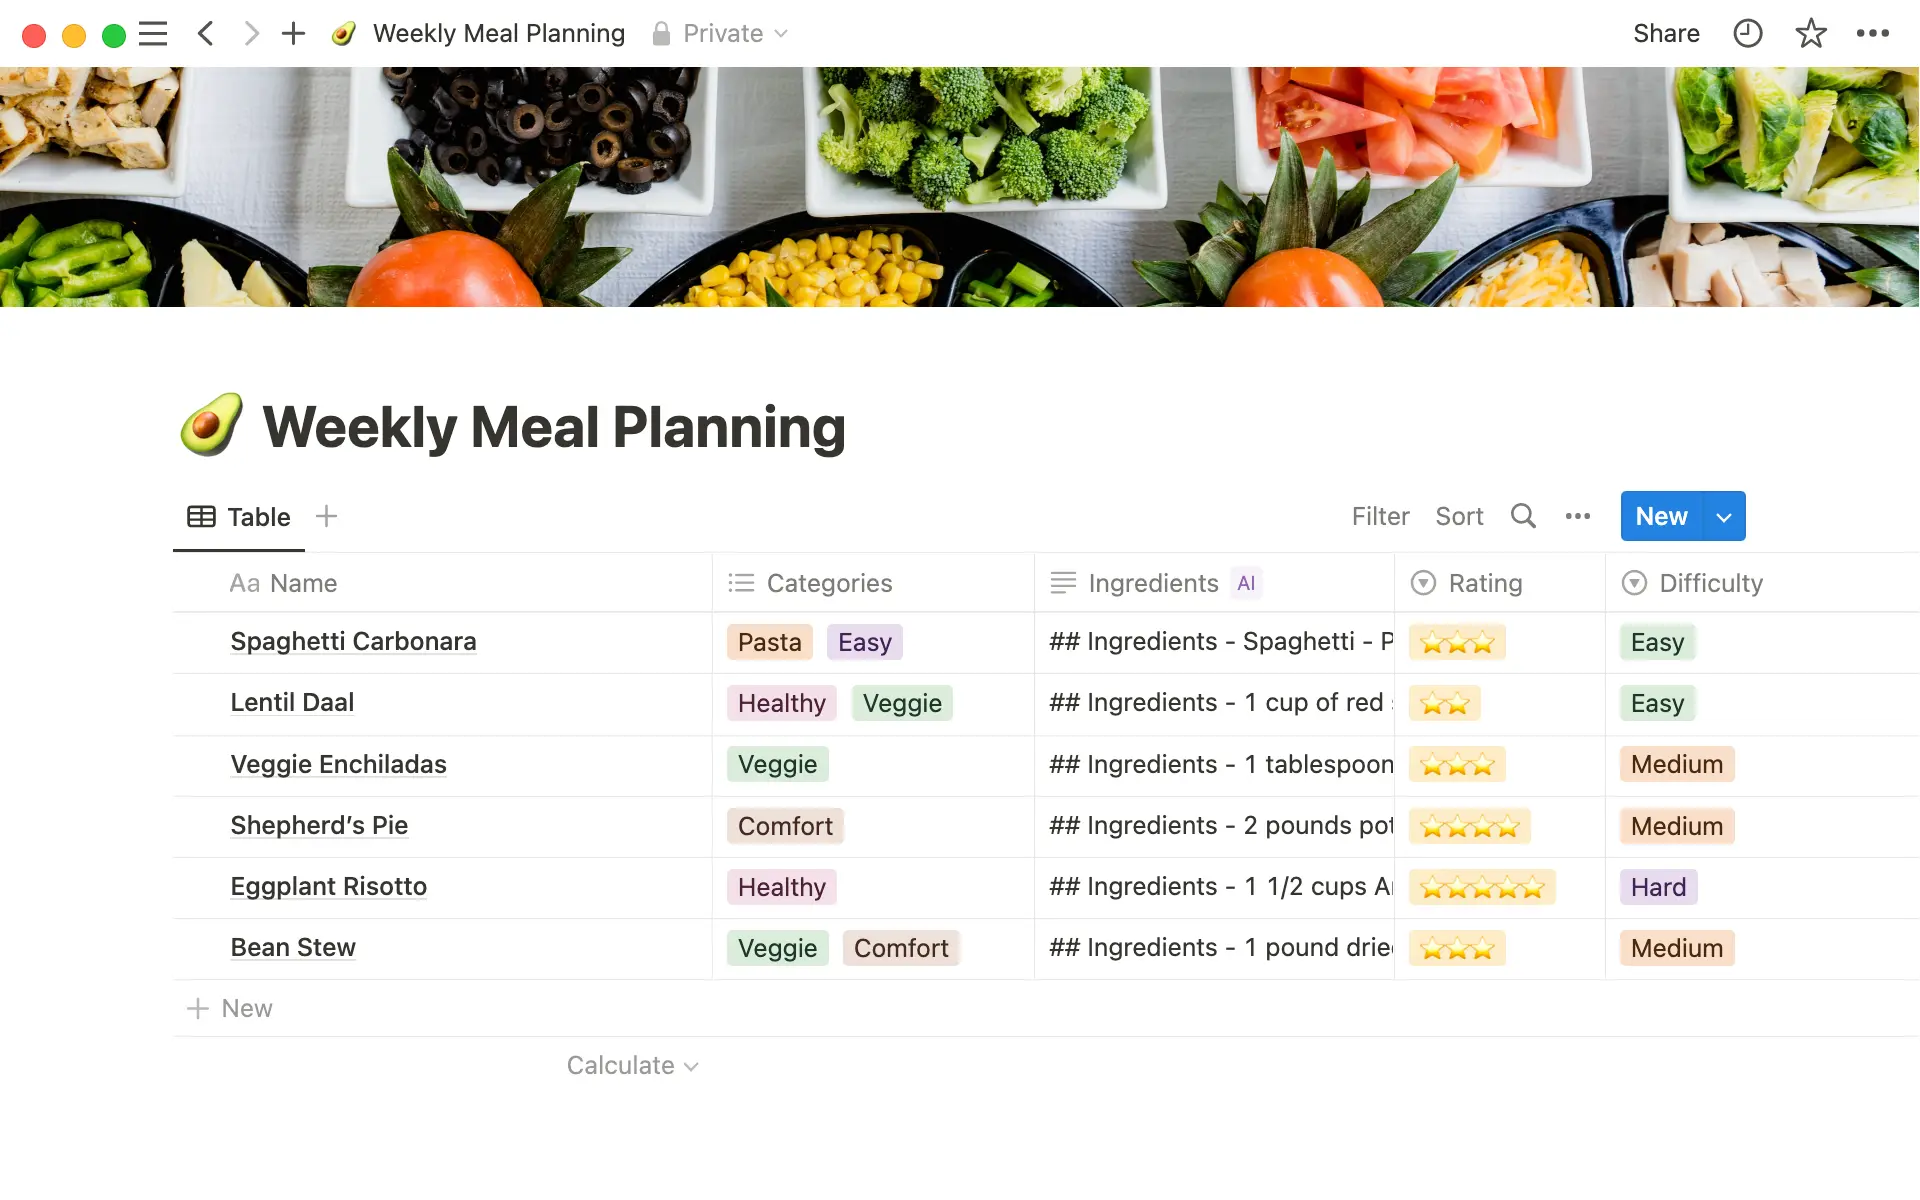
Create meal plans and shopping lists — If you’re on a budget, you probably want to avoid constantly ordering takeout. Instead, plan your weekly meals in Notion and get all the ingredients you need to pick up from the store. Ask Notion AI to suggest different types of recipes (easy, healthy, vegan, etc), then ask for the list of ingredients for each recipe.

Gibt es etwas, das wir nicht abgedeckt haben?